Print reports to a printer or to a number of file formats
including PDF, TXT, BMP, JPEG, EMF, PNG.
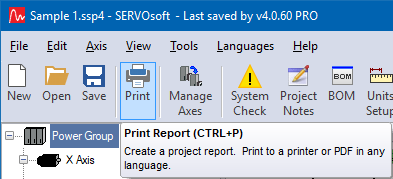
- Click the Print button on the Main form toolbar to open the
Print Preview of the entire project.
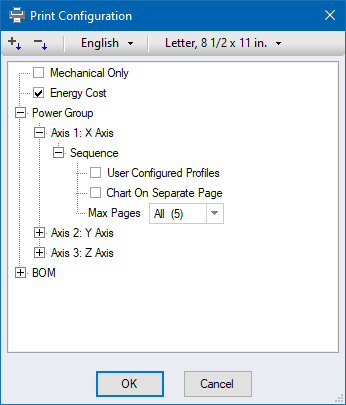
- The Print Configuration form provides several options including
to display only display mechanical data in the report, and which
profiles are displayed in the sequence chart. In the program
sequence form, up to 6 profiles can be configured. So in Print
Configuration, by selecting the 'User Configured Profiles'
checkbox, the sequence form profiles are used instead of the
default profiles - Distance, Velocity and Acceleration vs Time.
After making your selections, click 'OK' to create the report and
open it in Print Preview. These settings are saved in the project
file.
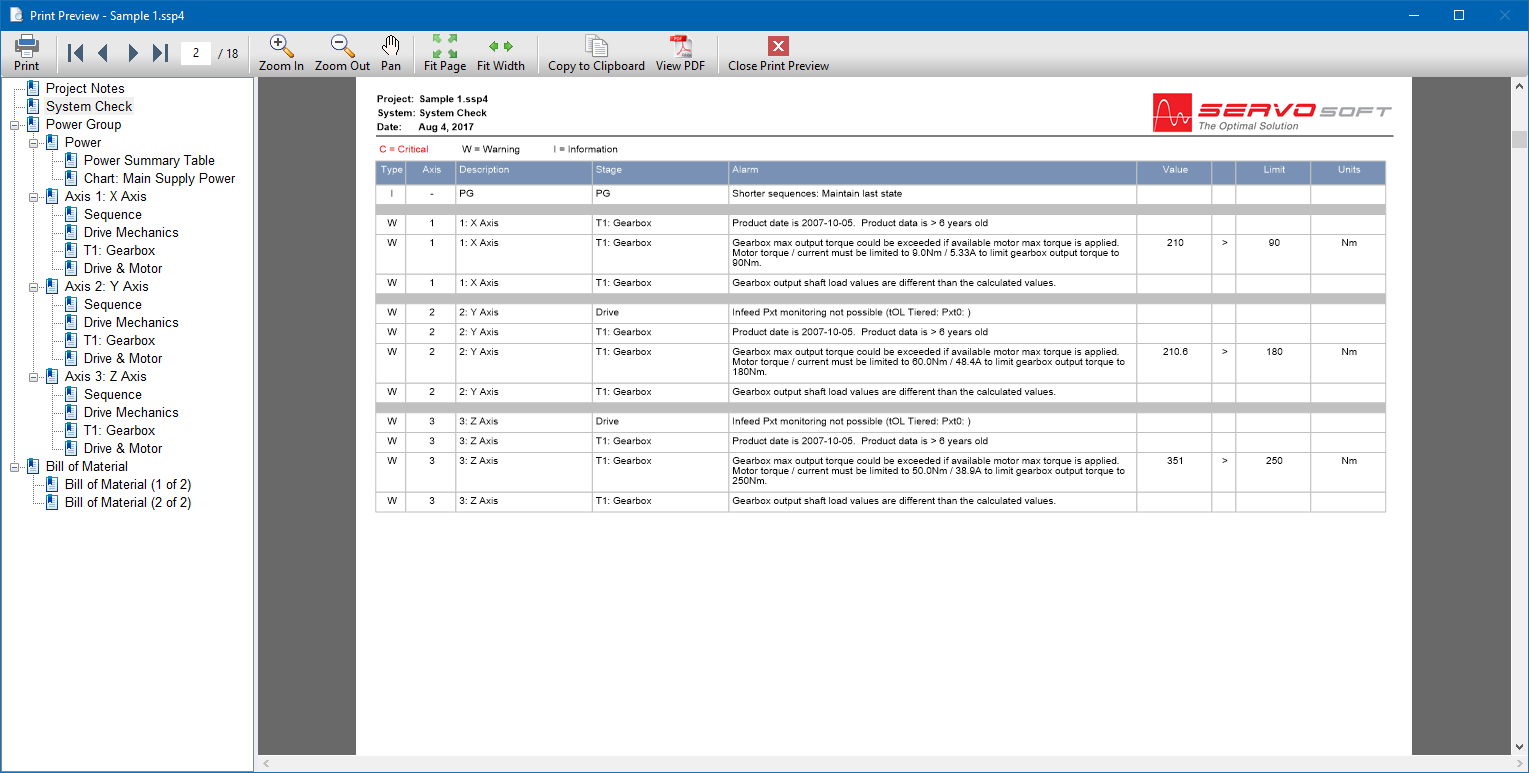
- In Print Preview, zoom in or out, pan, jump to a page, etc.
- Right-click anywhere on the document and a drop down list
appears with the key document functions such as zoom and pan
- Point the mouse on the document and then hold the CTRL key and
roll the mouse wheel to zoon in or out
|
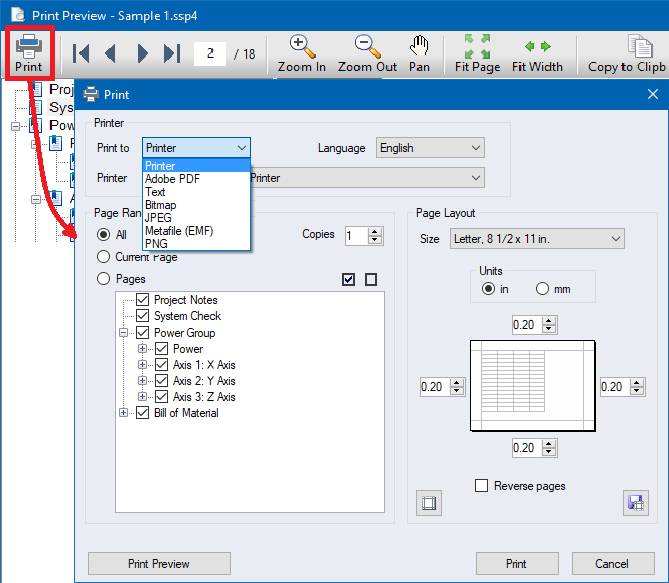
- Click the 'Print' button to open the Print Dialog. By default,
the print dialog opens ready to print all pages to the default
printer. Here you can choose to include or exclude some pages,
print to PDF or an image file format, change the language in the
report, change the page size and margins, etc.
Related topics